
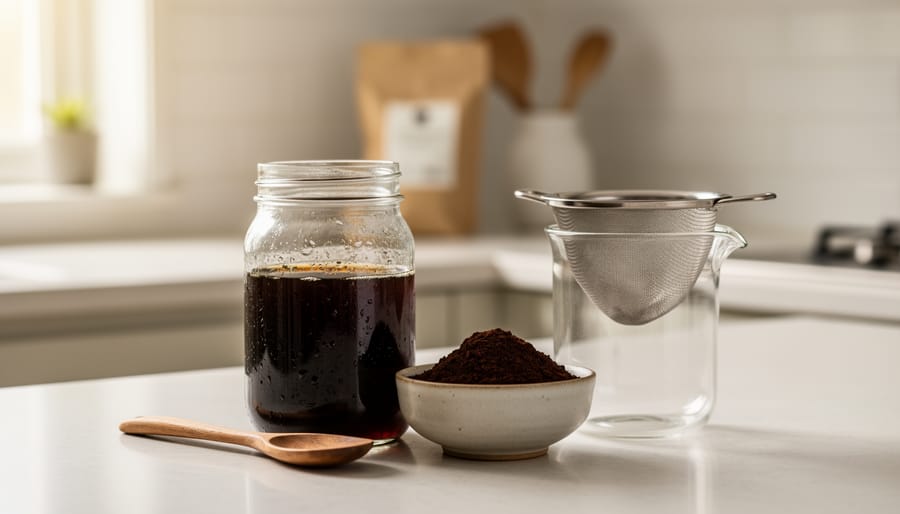
You can recreate Stok Cold Brew’s signature smooth, concentrated flavor at home for about $0.50 per serving, compared to $1.25 or more per bottle at Costco. The method is straightforward: coarsely ground coffee steeped in cold water for 12 to 24 hours, then strained and diluted to taste. This simple cold extraction process produces the same mellow, low-acid concentrate that makes Stok a cold brew favorite, and you’ll have complete control over coffee origin, roast level, and strength.
If you’ve been loading up on Stok multipacks during Costco runs, you’ve probably noticed the price adds up quickly, especially if you’re drinking it daily. The brand has earned its shelf space with consistently smooth results, but the concentrate you’re paying premium prices for is something any coffee lover can produce in their own kitchen. Cold brew isn’t complicated or finicky. It just takes time, which the coffee does on its own while you sleep or work.
What makes this approach particularly appealing in 2026 is the growing emphasis on coffee transparency and customization. When you brew your own batch, you’re not locked into a single flavor profile or sweetness level. You choose the beans, adjust the brew ratio, and create something that matches your exact preferences. Whether you’re after that classic Stok smoothness or want to experiment with single-origin Ethiopian beans for a fruity twist, the technique stays the same.
What You’ll Need: Tools and Ingredients
Choosing the Right Coffee Beans
Stok’s signature smooth-yet-bold profile comes from medium to dark roast beans, so look for bags labeled “full city roast” or “medium-dark” when shopping. These roasts bring out chocolate and caramel notes without the acidity that lighter roasts carry, perfect for cold brewing’s long extraction.
For origin, Colombian and Brazilian beans work exceptionally well. They deliver the rounded, low-acid sweetness that defines Stok’s taste. If you’re at Costco, check out their Kirkland Signature Colombian or San Francisco Bay Coffee offerings, both come in two-pound bags that’ll last several batches and cost significantly less per ounce than specialty roasters.
Avoid pre-ground coffee entirely. Cold brew demands a coarse grind, and buying whole beans lets you control that texture. The fresher the beans, the better your brew. Look for roast dates within the past month if possible, though Costco’s high turnover means their stock rarely sits long.
Single-origin options give you more control over flavor nuances, but blends designed for espresso also work beautifully since they’re engineered for bold, balanced extraction.
Essential Equipment for Cold Brewing
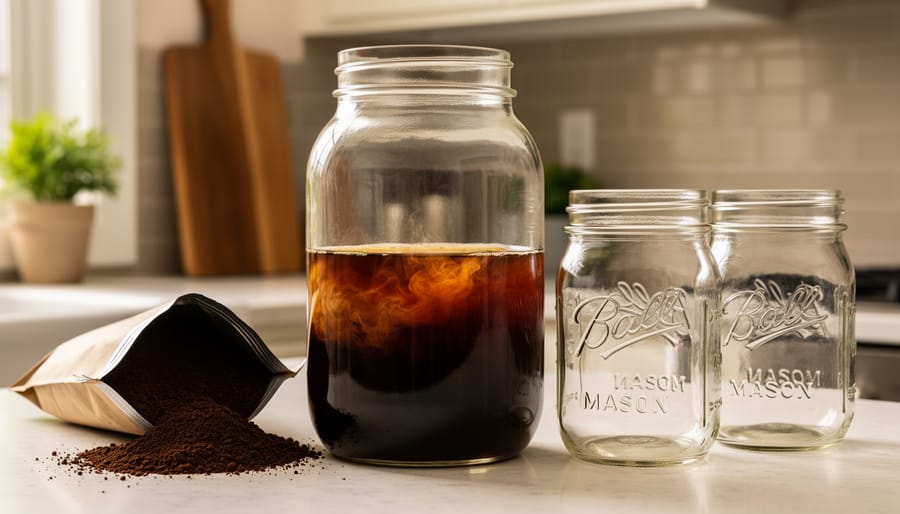
You don’t need fancy gear to brew excellent cold brew at home. The simplest setup is a large mason jar or pitcher, anything that holds at least a quart will work. Pour in your coarse grounds and water, let it steep, then strain through cheesecloth or a coffee filter. This method costs almost nothing and works great for beginners.
If you’re serious about regular batches, consider a dedicated cold brew maker with a built-in filter (around $25-40 at Costco or online). These streamline the process and eliminate messy straining. A French press cold brew also works beautifully, just steep with the plunger up, then press to separate grounds.
For filtration, you’ll need either a fine-mesh strainer, cheesecloth, nut milk bags, or paper coffee filters. Experienced brewers often double-strain for crystal-clear concentrate: first through mesh to catch most grounds, then through paper for polish. Whatever route you choose, prioritize something with a tight seal for refrigerator storage, airtight containers keep your brew fresh for up to two weeks.
Important Tips and Safety Considerations
Before you start brewing, a few key precautions will keep your homemade cold brew safe and delicious. Cold brew’s long steeping time makes cleanliness critical, always wash your hands thoroughly and sanitize all equipment with hot, soapy water before use. Any residual oils or coffee residue from previous batches can harbor bacteria, leading to off flavors or potential health risks.
Temperature matters more than you might think. While some recipes suggest steeping at room temperature for richer extraction, refrigerating from the start reduces bacterial risk, especially in warmer kitchens. If you do steep at room temp, keep it under 12 hours and move it to the fridge immediately after.
Don’t underestimate cold brew’s caffeine punch. A typical 8-ounce serving of cold brew concentrate contains roughly 200-300mg of caffeine (compared to 95mg in regular drip coffee), so dilute your concentrate appropriately. If you’re sensitive to caffeine or have heart conditions, start with smaller portions and monitor how you feel. Pregnant individuals should consult their doctor, as the concentrated caffeine levels can quickly exceed recommended limits.
Finally, use filtered water if possible. Tap water impurities become more noticeable in cold brew’s smooth, mellow profile, and chlorine or mineral flavors can muddy your carefully chosen beans.
Step-by-Step: Making Stok-Style Cold Brew at Home
Getting the Coffee-to-Water Ratio Right
The standard ratio for cold brew concentrate is 1 part coarsely ground coffee to 4 or 5 parts water by weight. For a manageable home batch, that’s roughly 1 cup of coffee grounds to 4 cups of cold, filtered water. This produces a smooth low-acid concentrate you’ll dilute later with water, milk, or ice.
If you prefer bolder flavor, lean toward 1:4. For a lighter, more approachable concentrate, go with 1:5. Starting with 1:4.5 (say, 1 cup grounds to 4.5 cups water) hits a sweet middle ground that most people love. Remember, you can always adjust on your next batch, cold brew is forgiving, and finding your perfect strength is part of the fun.
The Steeping Process: Time and Temperature
The steeping window for cold brew concentrate typically runs 12 to 24 hours, and where you let it sit makes a real difference in the cup. Most home brewers, myself included, prefer refrigerator steeping because it’s straightforward and eliminates any worry about bacteria. Cold extraction takes the full 18-24 hours but produces a remarkably smooth, clean flavor with minimal acidity. The gradual process pulls out chocolatey, sweet notes while leaving harsh compounds behind.
Room temperature steeping speeds things up, you can have drinkable concentrate in 12-15 hours, but the trade-off is a slightly heavier, more aggressive flavor profile. Some coffee enthusiasts actually prefer this bolder character, especially if they’re using light or medium roasts that benefit from faster extraction. Just keep your container away from direct sunlight and don’t push past 16 hours at room temp to avoid any funkiness.
A middle-ground approach works well: steep at room temperature for 8-10 hours, then move the jar to the fridge for another 6-8 hours. This technique balances speed with the smooth finish cold extraction delivers. Whichever method you choose, resist the urge to agitate or stir during steeping, let time do the work.
Straining and Filtering Your Brew
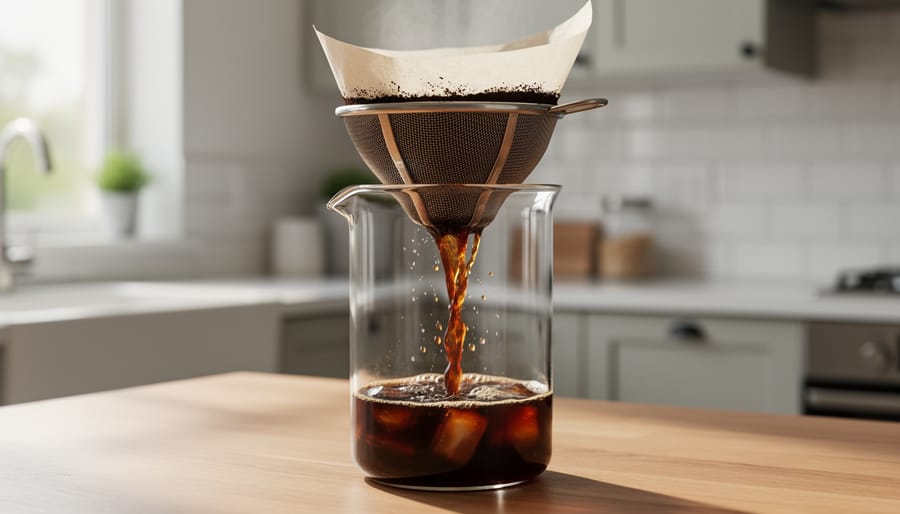
After your coffee has steeped, proper straining separates smooth concentrate from gritty disappointment. The goal is removing all grounds while preserving the full-bodied flavor you’ve extracted.
Start with a coarse filter first, then move to finer options. Place a fine-mesh strainer over your storage container and line it with cheesecloth or a nut milk bag. Pour the brew slowly, letting gravity do the work, pressing or squeezing pushes fine particles through, creating sediment. For the cleanest result, strain twice: once through cheesecloth to catch larger grounds, then through a paper coffee filter for that final polish.
Paper filters take longer but deliver crystal-clear concentrate. If you’re impatient, metal mesh works faster but expect slight cloudiness. Some sediment at the bottom after refrigeration is normal, but if your first sip feels gritty, you’ve rushed the filtering.
Pro tip from specialty coffee shops: let the strained concentrate rest in the fridge for an hour before transferring to a clean container. Any remaining particles settle at the bottom, and you can pour off the pure liquid, leaving the sludge behind.
Testing Your Cold Brew and Troubleshooting
After 12 to 24 hours of steeping, it’s time to see how your cold brew turned out. Start by straining your concentrate through cheesecloth or a fine-mesh filter into a clean container. Before diluting, examine the concentrate, it should be a deep, dark brown, almost like strong iced tea or espresso when held up to light.
Now for the taste test. Sample a small amount of the undiluted concentrate (it’ll be strong). You’re looking for smooth, low-acidity flavor with no harsh bite. The coffee should taste sweet and chocolatey without any sharpness. If you detect bitterness, you likely over-extracted by steeping too long or grinding too fine. Weak or watery flavor means under-extraction, either not enough steeping time or too coarse a grind.
Here are the key quality indicators and quick fixes:
- Bitter or harsh taste: Reduce steeping time by 2-4 hours next batch, or use a coarser grind
- Weak, watery flavor: Increase coffee-to-water ratio or steep for 2-4 hours longer
- Excessive sediment or cloudiness: Use a finer filter, strain twice, or grind beans slightly coarser
- Sour notes: Your beans may be too light-roasted, or the water was too cold, try medium or dark roast
- Flat, lifeless taste: Coffee beans were likely stale, always use fresh beans within 2-3 weeks of roasting
Once diluted with water or milk (usually 1:1 ratio), your cold brew should be smooth and balanced. If the first batch isn’t perfect, don’t worry. Cold brewing is forgiving, and small adjustments make a big difference. Keep notes on your ratios and steeping times so you can dial in your perfect brew. Most home brewers nail their ideal recipe by the third batch.
Customizing Your Homemade Cold Brew
Popular Flavor Combinations
Want to elevate your homemade cold brew beyond basic black coffee? These three cafe-style recipes work beautifully with your freshly made concentrate.
Vanilla Sweet Cream: Combine 1/2 cup cold brew concentrate with 1/2 cup water, then top with a mixture of 2 tablespoons heavy cream, 1 tablespoon milk, and 1/2 teaspoon vanilla extract. The cream floats on top, creating Instagram-worthy layers.
Mocha Magic: Mix equal parts cold brew concentrate and water, add 2 tablespoons chocolate syrup (Costco’s Kirkland brand works great), and finish with a splash of whole milk. For extra decadence, top with whipped cream and cocoa powder.
Salted Caramel Dream: Dilute your concentrate 1:1 with water, stir in 1 tablespoon caramel sauce and a tiny pinch of sea salt, then add your preferred milk. The salt amplifies the caramel’s richness without making it overly sweet.
Each recipe makes one serving and costs roughly $0.75-$1.25 at home compared to $5-$7 at coffee shops. You can also pair with food for a complete cafe experience.
Cost Comparison: Homemade vs. Stok from Costco
Let’s break down the numbers to see if making cold brew at home is worth it. As of 2026, a 48-ounce bottle of Stok Cold Brew at Costco runs about $6.99, giving you roughly six 8-ounce servings at $1.16 each. If you’re drinking a cup daily, that’s over $400 per year.
Making it yourself? A one-pound bag of quality coffee beans from Costco costs around $12-15 and yields approximately 32 servings of cold brew concentrate when properly diluted. That brings your per-serving cost down to just 37-47 cents, less than half the ready-made price. Yes, there are upfront equipment expenses, cold brew maker costs range from $20 for basic mason jars to $35 for dedicated brewers, but these pay for themselves within the first month of regular use.
The real advantage shows up with volume. Costco’s bulk coffee pricing means you can stock up during sales, locking in even lower costs. A daily cold brew habit made at home costs roughly $135 annually compared to $424 for store-bought, saving you nearly $300. Plus, you control the strength and avoid paying premium prices for flavored varieties you can easily create yourself with simple add-ins.
Storage and Shelf Life Tips
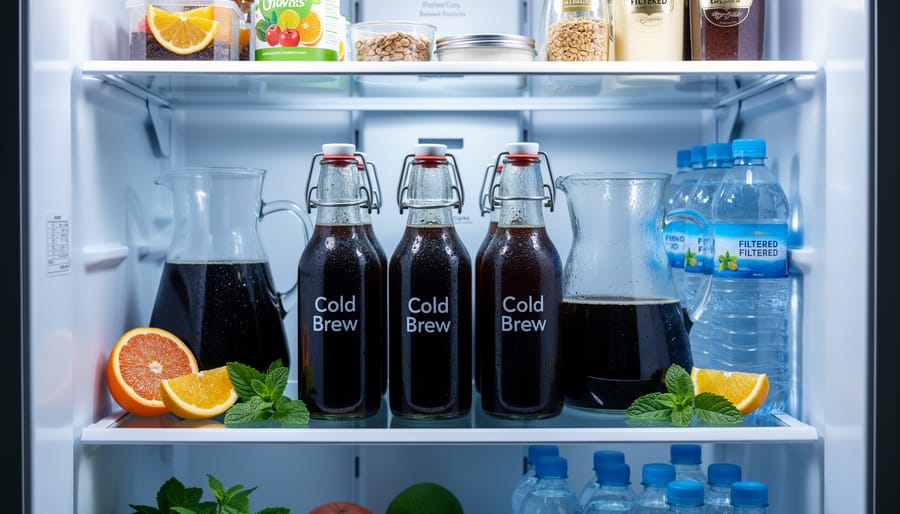
Proper storage keeps your homemade cold brew tasting fresh and safe to drink. Always store your concentrate in an airtight container in the refrigerator, mason jars with tight-fitting lids or glass bottles work perfectly. Glass containers are preferable because they don’t absorb odors and are easier to clean thoroughly than plastic.
Your undiluted cold brew concentrate stays fresh for up to two weeks when refrigerated. Once you’ve diluted it with water or milk, consume it within three to four days for the best flavor. The concentrated form lasts longer because there’s less opportunity for bacterial growth.
Watch for these signs that your cold brew has gone bad: a sour or “off” smell that’s distinctly different from coffee’s natural acidity, visible mold (which appears as fuzzy spots), or a slimy texture when you pour it. If you notice any of these, discard the batch immediately.
Label your containers with the brewing date so you can track freshness. Keep your cold brew away from strong-smelling foods in the fridge, as coffee can absorb surrounding odors even through sealed containers.
Frequently Asked Questions
Making cold brew at home raises plenty of questions, especially when you’re comparing your homemade version to store-bought options like Stok. Here are answers to the most common questions that coffee enthusiasts ask when starting their cold brew journey.
Can I use pre-ground coffee for cold brew?
Yes, but freshly ground beans produce better flavor. If using pre-ground, choose a coarse grind labeled for French press or cold brew to avoid over-extraction and bitterness.
How does homemade cold brew compare to Stok from Costco?
Homemade cold brew gives you complete control over strength, flavor, and sweetness, while Stok offers convenience and consistent results. With the right beans and ratios, you can match or exceed Stok’s quality at a fraction of the cost.
How much caffeine is in cold brew compared to regular coffee?
Cold brew concentrate typically contains 200-300mg of caffeine per 8 ounces before dilution, compared to 95mg in regular brewed coffee. Always dilute concentrate and monitor your intake, especially if you’re sensitive to caffeine.
Can I reuse coffee grounds for a second batch?
No, reusing grounds produces weak, flat-tasting coffee because most flavor compounds and caffeine extract during the first steep. Always use fresh grounds for each batch.
Another question that comes up frequently is about scaling recipes. You can absolutely double or triple the recipe by maintaining the same coffee-to-water ratio (1:4 or 1:5 for concentrate). Just make sure your container is large enough to hold everything with room for expansion during steeping. Larger batches don’t require longer steeping times, they just give you more concentrate to enjoy throughout the week.
If you notice your cold brew developing an off smell or sour taste before the two-week mark, it has likely spoiled. Always store it in a clean, airtight container in the refrigerator, and trust your senses. When properly stored, homemade cold brew concentrate stays fresh for 7-14 days, giving you plenty of time to enjoy your custom-crafted coffee.
Making your own Stok-style cold brew at home isn’t just about saving money, though you’ll definitely do that. It’s about taking control of your coffee experience and discovering what you really love in a cup. You’ve seen the numbers: brewing at home costs a fraction of buying ready-made, even from Costco. But the real payoff is the creative freedom.
Every batch you make teaches you something. Maybe you prefer a longer steep for deeper flavor, or you’ve created a vanilla blend that rivals any coffee shop. That’s the beauty of homemade coffee recipes, they’re yours to perfect. The basic process is straightforward: grind, steep, strain, enjoy. From there, you can go anywhere.
So grab those coffee beans from Costco, set up your brewing station, and start experimenting. Try different roasts, tweak your ratios, invent new flavor combinations. You’re not just making coffee; you’re joining a community of people who believe the best brew is the one you craft yourself. Your perfect cold brew is waiting, and it might be better than anything you’d find in a store.